3/25/12

Christmas in March

Christmas Trees!

One of my most special parts of Christmas is the Tree.
It is very relaxing sitting by the Christmas Tree 
having a glass of wine and looking at the lights and ornaments.

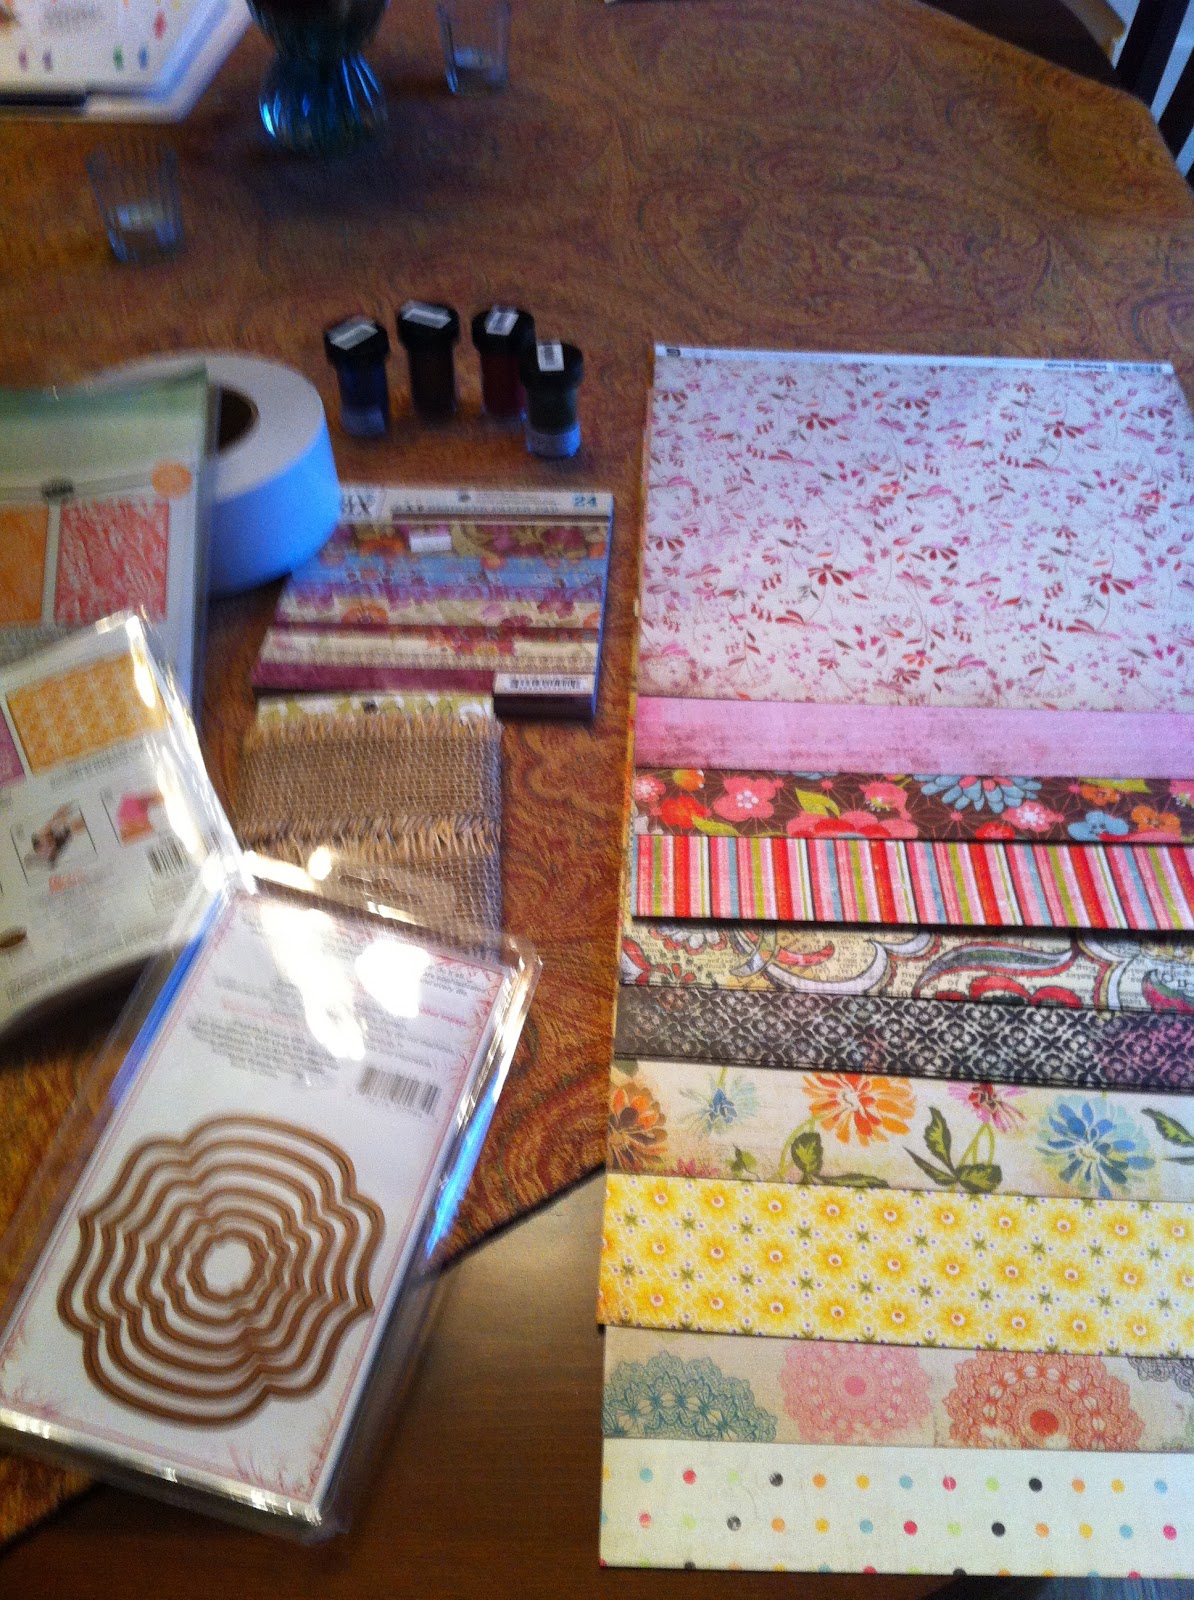
Do you remember this photo?


It is from my blog Third Thursday Tools, November 2011.
Now, you can see the card finished!


The swirls on this tree was perfect to heat emboss.
Matched a printed cardstock.
Heat embossed Merry Christmas in white embossing powder.

I spend one day putting the lights on the tree and the next day the ornaments.
Perhaps my Christmas Card in April will have ornaments!


Imagination!
-Elaine

Supplies:
Cardstock: Kraft - Speckletone, Red - Bazzill, Print - BasicGrey - Jovial, White - Flourishes
Embossing Powder: Green - Martha Stewart, White - Stampendous  Pearl White
Stamps:  Tree - Hero Arts, Sentiment - Papertrey Ink Holiday Photo Finishers
Tools: Heat Gun - Martha Stewart, Adhesive - Tomboy, Cutting Tool - Fiskars

3/20/12

Collecting Colors

I collect ways to color...yes I admit it!
Colors in markers, pencils, chalks, dye inks and pigment inks.
From alcohol, watercolor, oil, translucent to opaque!

The question is...
How do you learn what works with what?


Returning to crafting after 25 years the
 products and  technologies have so advanced. 
Which is really fun and exciting to learn!


Chocolate Brown my favorite "base" color to stamp!


How can I color with Distress Inks?
What type of ink should I use when stamping to create a watercolored technique?
What about using spray inks and stains?
Then there are the many different types of markers, how do I use those?

How do you learn what works with what?
One of my favorite ways are On-Line Card Classes!

Tim Holtz started his class yesterday.
 Excellent start to Creative Chemistry 101!
The questions I have are being answered.

I encourage you to sign up for this class!
Learn with all of us!


Imagination!
-Elaine


3/15/12

Third Thursday Tools!

Blending Pens/Brushes!

Several days I go I just sat down and colored.
Colored with my Copic Sketch Markers, Watercolor Pencils and even tried chalk.
As I was coloring I thought what would I do without the blending pens.


Please read a little about the Blending Pens:


Copic Colorless Blender - The Colorless Blender in not an eraser, it pushes the ink. If you color outside the line you might be able to correct... push the stray ink color back inside the lines of the image. I find that it works really well depending on the shade and specific color of the ink. You can also add texture you image with this blender pen. It is refillable. One of my favorite tools!


Stampin Up! - Blender Pens - This blender pen I use with my watercolor pencils. Once I place the color on my image I use this tool to create a beautiful watercolor effect. The tip cleans simply by a couple of strokes on scratch paper. I would really like to know more about how this blender pen works - is it the tip or a liquid inside that allows you to blend? If you know please comment!


Koi Water Brush - This Water Brush has two ends. One with a brush tip (I have the small tip) and the other end holds a small amount of water. This allows water to go directly to the tip. The tip on this water brush has a fine point which I really like. I use this pen with water-based markers, water pencils and perfect pearls.


Dove Brushes Pen - This blender pen is on my favorite tool list! I can use this pen with dye and pigment ink pads, watercolor  pencils, water based markers and chalk. The color blend pens gives my the ability to lighten or intensify color. To clean between different colors rub the tip on scratch paper until it is clear. This pen is also refillable.


One other Blender Pen that I have on order is from Ranger Products the
 Tim Holtz Water Brush.
It should be fun to compare this brush to the other Blender Brush/Pens.

What are your favorite blender pens and brushes?
What form of color do you use - inks, paints, pencils?

Imagination!
-Elaine

3/12/12

Pretty Good Weekend

What a pretty good weekend I had!

First, I attended the Creative Keepsake Scrapbook Convention.
Even though I create cards and floral designs,
it is fun to see what the scrapbook world is creating!

Excitement building, Ladies waiting for the doors to open!
Shopping has begun!

Convention Floor - Look, Touch and Purchase!


Yes, I purchased!
Matte Embossing Powders, Embossing Folders and Dyes.
Of course printed cardstock.
Why looking a printed cardstock it reminded me fabric shopping years ago.
I loved all the floral patterns!

On Saturday, our family celebrated Tencha's 89th BIrthday!
Tencha is an amazing woman!
She is just simply...happy and has a strong belief in God.

We know she loves flowers and Hydrangeas!
After her formal name Hortensia.

Beginning of my floral bouquet.


Hand-Tied Bouquet of Hydrangeas, Sweetheart Roses,
 Freesia and Alstroemeria.

Tencha, Ed and myself!
(Where is my lipstick?)

 Ended the weekend wine tasting in Carlton.
More on Carlton in future blog posts - stay tuned!


Imagination!
Elaine


3/1/12

March Calendar

Spring is coming...I think.
This week in Portland, Oregon the weather was a little bit of everything.
 Sun, rain, hail and a little snow! 

My garden and pots have pansies and primroses.
The crocus and daffodils are almost ready to bloom.

For my March calendar I choose to watercolor Pansies.

Happiness is stamped in Green to honor my Irish friend - Jill who is always happy!


 The watercolor pencilsI choose to color with were from Stampin Up!
Shades of Yellow highlighted with Orange, Purples and Greens.

I am enjoying having a pretty calendar on my desk!

Imagination!
-Elaine

Supplies:
Calendar: Paper Source
Cardstock: Kraft - Speckletone, Violet - Bazzill
Ink: Ranger Archival - Coffee, Memento - New Sprout
Stamps:  Flourishes- A Year in Flowers Set #1 and sentiment Cherry Blossoms, Making Memories Boarder
Coloring: Stampin Up! Watercolor Pencils
Tools - Tomboy Adhesive, Fiskars Paper Cutter