7/25/12

Christmas in July

The story behind the saying Christmas in July meant retail sales in July were weak.
However, it depends on the retailer and how they market themselves in July.

Nordstrom

As a former buyer for Nordstrom the Anniversary Sale 
was a great event to buy. Every Fall look and trend!
Nordstrom customers love this Sale.
It was a great amount of work and really fun!
(Remember prices go up August 6th)

Now, Christmas in July has a different meaning for me.
Christmas in July means Joy!

Joy spending time with family and friends out in the sunshine!
Traveling to different places and exploring!
Early morning walks with the flowers blooming!

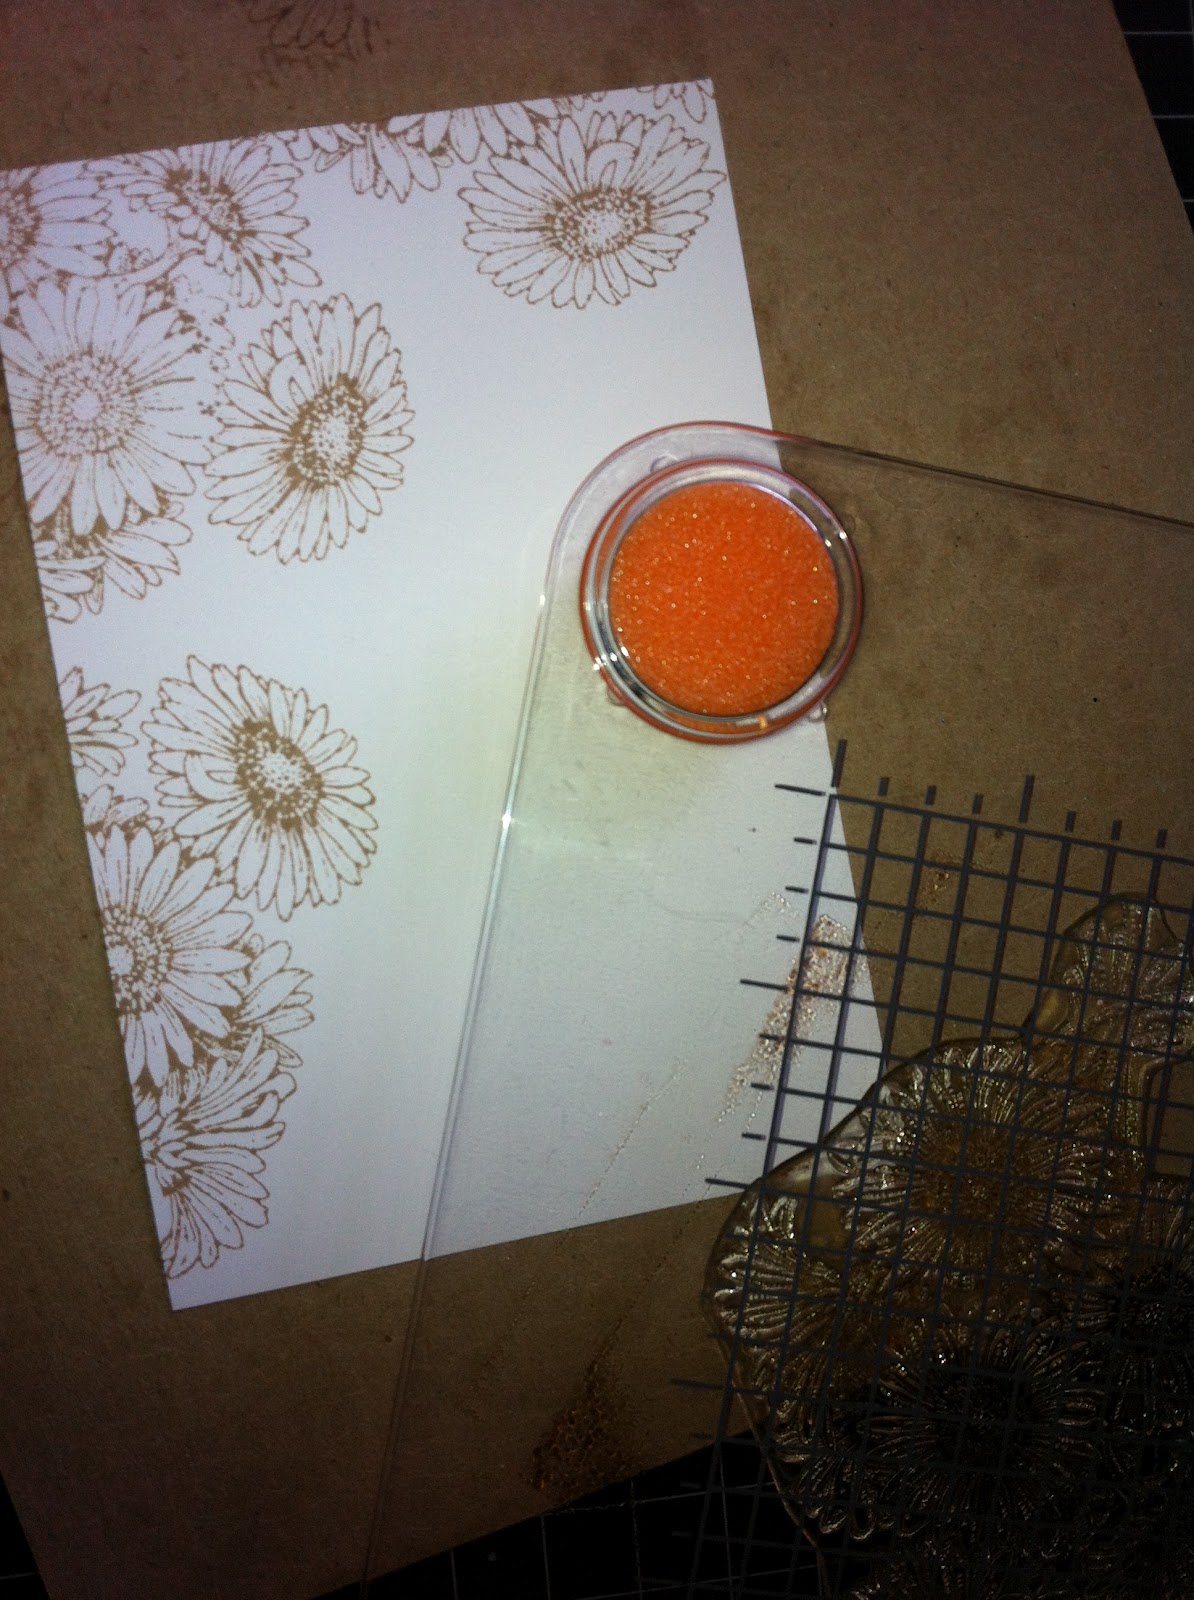
I thought this morning instead of posting the Christmas Card I created,
I would share a few of the flowers I saw on my walk.

Beautiful blending of colors in the Dahlia
Bright Christmas Red in Crocosmia

 Sun shining on the delicate Day Lilly's.


The size of the Oriental Lilium was about 8 inches round.


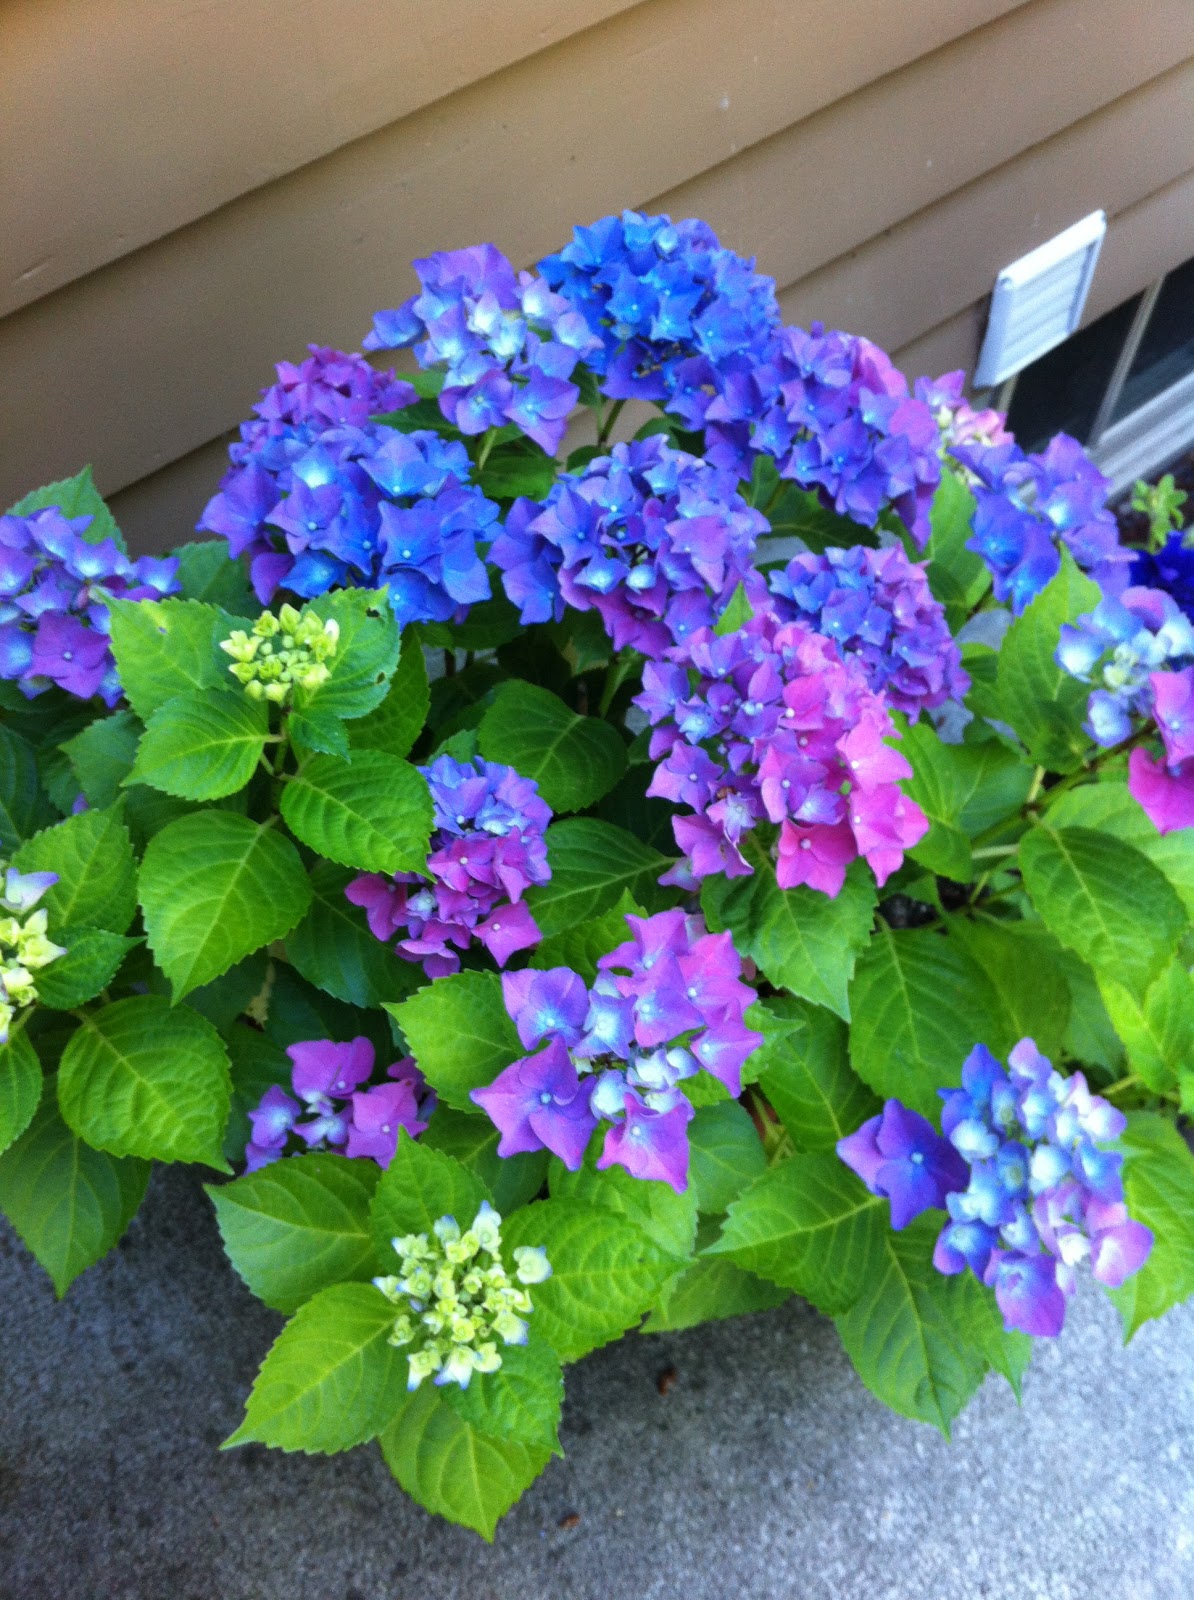
Right outside my back door are Hydrangea.
 I love the intensity of this color!


Now Open! Oh my!
One of my favorite bakeries in Portland, Oregon.
 Just opened in my neighborhood - only 4 blocks away!
Had to stop and enjoy a Pecan Danish!
(I will have to add 15 minutes on to my walk now to cut the calories from Grand Central.)

My Christmas Wish for all you is to find Joy in July!

Imagination!
-Elaine


7/23/12

Single Bloom

Today was the last day of Stretch your Stamps!
This was one of my favorite On-Line Card Classes.

As I mentioned in Third Thursday Tools I will be sharing 
a few of my favorite tips and techniques I learned.

Two types of stamps I really enjoy using are Background and Florals.


One of my favorite background stamps is from Hero Arts.
I heat embossed the Paisley Swirl image using VersaMark ink and
 Stampendous Pearl White powder on Flourishes Basic White Cardstock.
Added Distress Ink in Peeled Paint with the Ink Blending Tool.


On the class supply list was a Stamp + Die Combo.
I had looked at this type of stamp several times and thought..hmmm.
Now, I am thinking - Wow!

What fun it was to stamp, color and die cut the floral image.

Used Foam Squares to adhere Tag for a little dimension.
In class examples were shown using vellum.

Tip # 1 - The weight of the vellum.
I had used lightweight vellum now I use 40lb. weight vellum.
The embossing powder does not "crimp" the vellum.
Thank you Jennifer and Kristina for the tip!
Also, Thank you Dawn McVey for your card using the tag on your card!

Next stamp - Collage!

Imagination!
-Elaine

Supplies:
Cardstock: Kraft - Speckletone, Pea Green and Vellum - Bazzill
Ink: Distress Ink - Peeled Paint and Spiced Marmalade, Memento Ink - New Sprout
Stamps: Hero Arts - Paisley Swirl, Sizzix and Hero Arts Stamp & Die - Floral, Sentiment - Savvy Stamps
Dies: Sizzix - Tags Scallop #2
Embellishment: Ribbon: We R Memoires Orange Twine,  Crystal Stickers Pearls
Tools: VersaMark Watermark Stamp Pad, Stampendous Embossing Powder - Pearl White and Detail White, Thermo Web - Foam Squares, Glue Dots Mini, Crop-A-Dile Corner Chomper, Tim Holtz Paper Distresser


7/19/12

Third Thursday Tools

I am sadly reaching the end of participating in another 


In class we are learning how to use 12 featured stamps.
Collage, Background, Floral, Border, Reverse, Stamp + Die Combo.
(just listed 6 - you will have to take the class to find out the rest)
5 different techniques each day using the same stamp.
Stretch your Stamps!

As I have been crafting cards from the class two tools
 have been so useful in stamping.
Stamp-a-ma-Jig by Inkadinkado and Fiskars Stamp Press!
Both tools give you the ability to position and visualize your layout when stamping!

First Stamping Tool - Stamp-a-ma-jig
Very simple to use:


 Line up the Stamp-a-ma-jig and the imaging sheet.
Ink and Stamp in the left corner on the imaging sheet.
Position where on your layout you want the image to be
 by moving the imaging sheet on your cardstock.


Once you have selected where you want to place the stamp,
line up the Stamp-a ma-jig with the imaging sheet.
Remove the imaging sheet, holding the Stamp-a-ma-jig and insert stamp.
Press on the stamp and you have the image in the right place!


I would use this tool by repeating a image or sentiment on a card.
The Stamp-a-ma-jig gives you the tool to position your stamp!

Second Stamping Tool: Fiskars Stamp Pad
The one that I use is the compact stamp pad.
It measures 3X5 inches of stamp area.
This tool is great at visualizing your layout.


The Fiskars Stamp Press gave me the ability to see where I wanted to stamp.
Very easy to use with 4 sponged corners when pressing down.
Stamps very evenly.

For my Granddaughter Daphne! She will enjoy adding more stamps!
Fiskars Stamp Press is great for using Alphabet letters.
Simply place the stamps on your cardstock.
(as you want the words to appear)
Place your stamp press on the stamps, press down and lift.
Ink the stamps on your stamp press.
Lastly stamp your word on your cardstock.
So... easy!

It is time to log on to Stretch your Stamps and start crafting!
Check back next week as I will post a few of the cards I crafted.

Imagination!
-Elaine

Supplies:
Cardstock: Flourishes Basic White Cardstock
Ink: New Memento Colors - Elderberry, Toffee Crunch, Elderberry
Stamps: Fleur d lisle - Paper Source, Gerber Daisy - Flourishes, Alphabet - American Craft


7/6/12

Color - Blue

On my morning walk the flowers along the sidewalk
 made me stop, cross the street and take a photo.
What caught my eye was the color of the flowers.
Blue - from bright and intense to soft and delicate.

Delphinium, Sea Holly, Hydrangea


Royal Blue layered this delphinium.


The blue stems of the thistle within the green leaves.


Hydrangea shades of blue

This hydrangea is from my garden.
Enjoy the color blue!

Imagination!
-Elaine